Putting Ambilight on the knee
 Bashny.Net
Continues the series of DIY articles (1, 2). This will be the third and hopefully not the last ...
It has long wanted to have the opportunity to create such as company Philips' TVs to enjoy watching movies.
The project Lightpack it became possible for that many thanks to the authors!
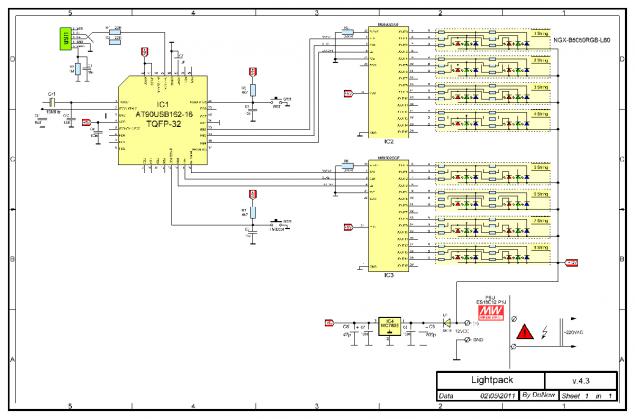
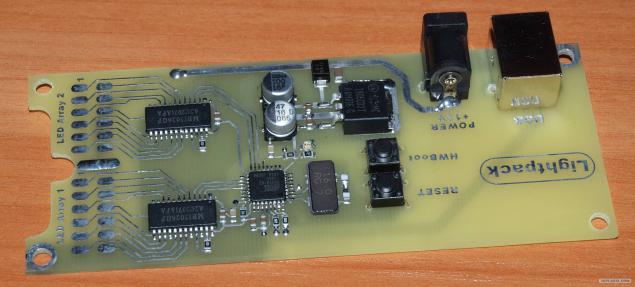
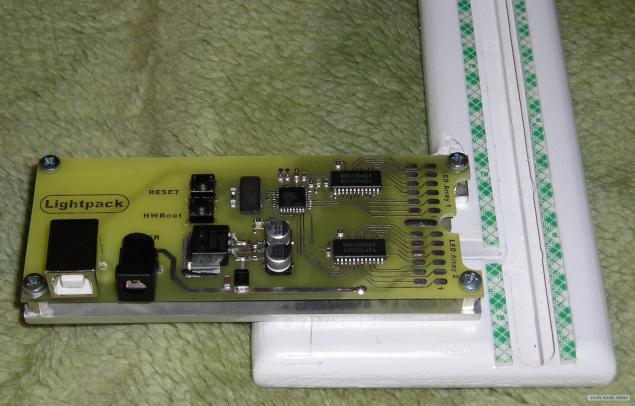
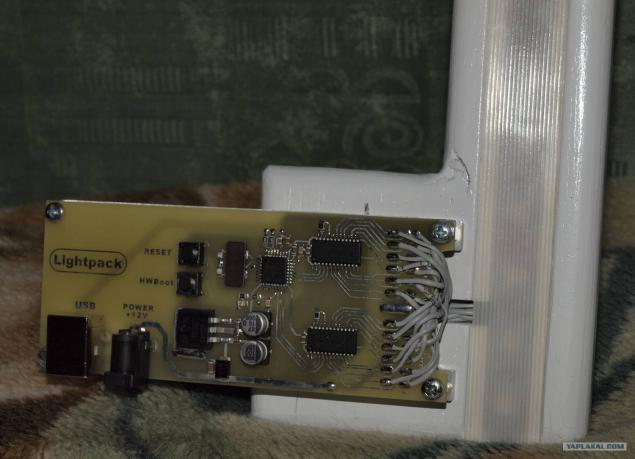
The first thing you need to collect the "brains", the scheme I was little changed, taking into account their needs.
28 pictures
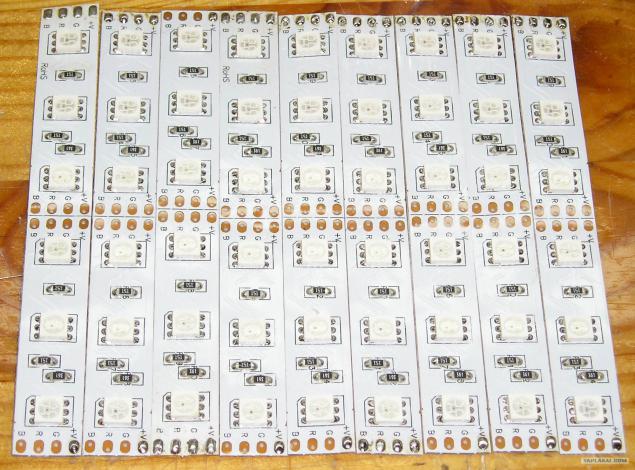
I will use as a light source, LED ribbon dual density NGX-B5050RGB-L60, for my monitor 26 & quot; tapes took a little less than 1 meter.
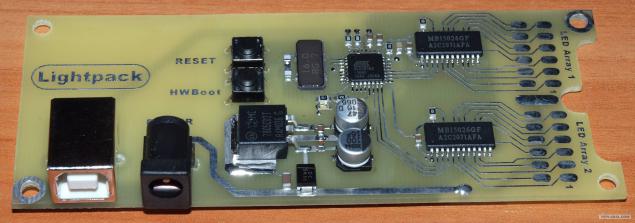
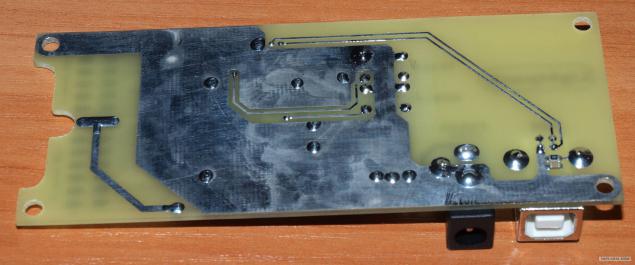
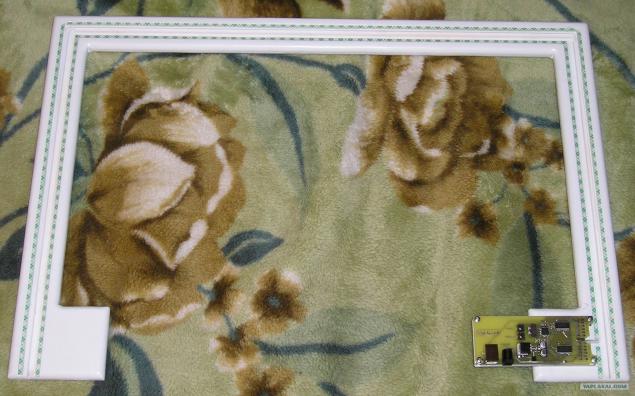
Fee device.

04
05
06
Ah, how many have accumulated ...
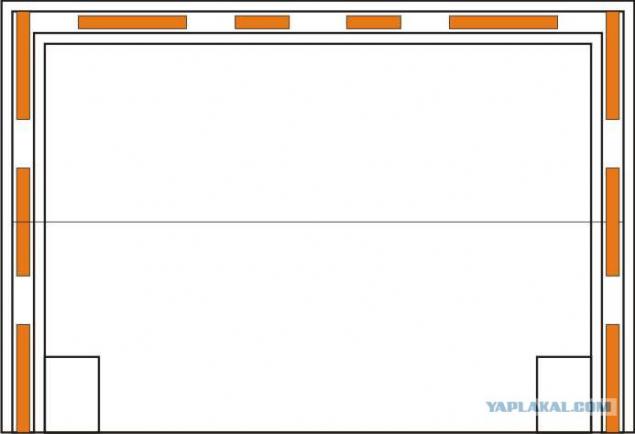
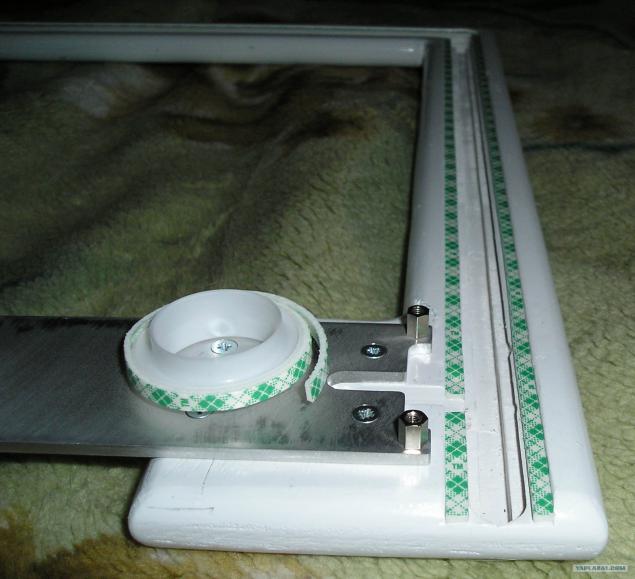
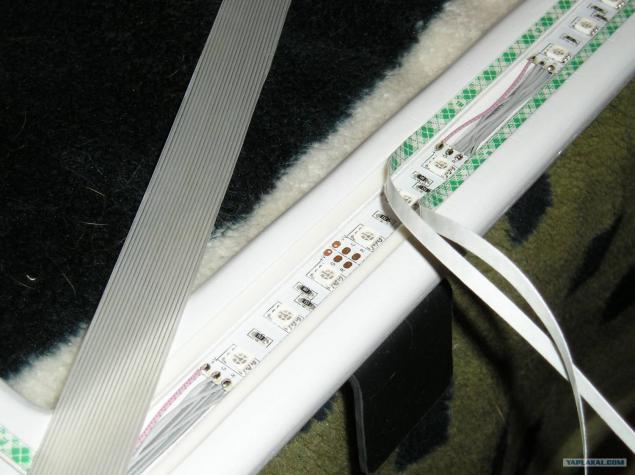
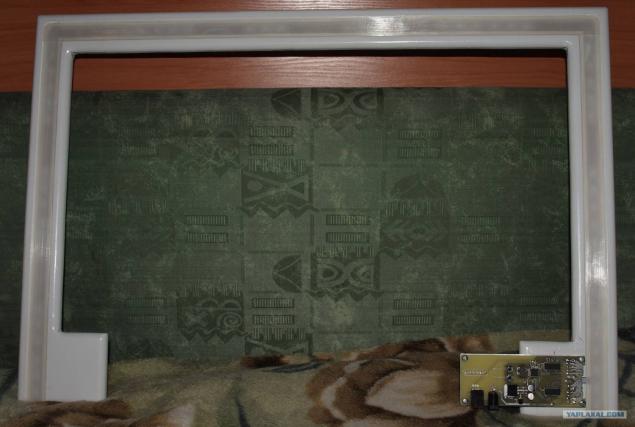
Locations segments LED strip in the frame.
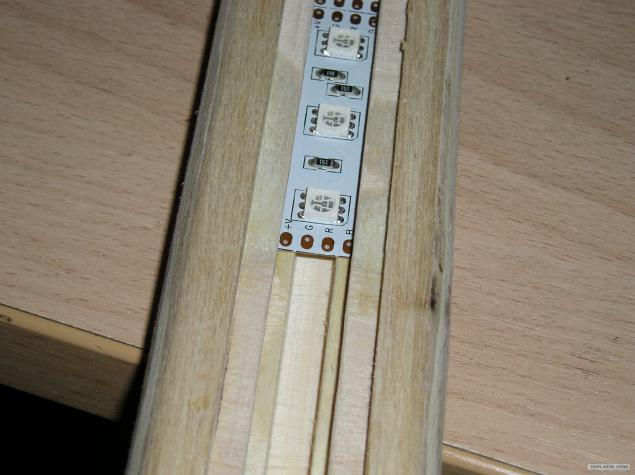
Part of the case of plywood 18mm. It is milled grooves for LEDs, wires and protective glass.
Moderator please do not connect the threads.
The protective glass diffuser is made of a cap, the ceiling fluorescent lamp, we first need to cut off the edges, and then building a hairdryer warming arch, giving the plane.
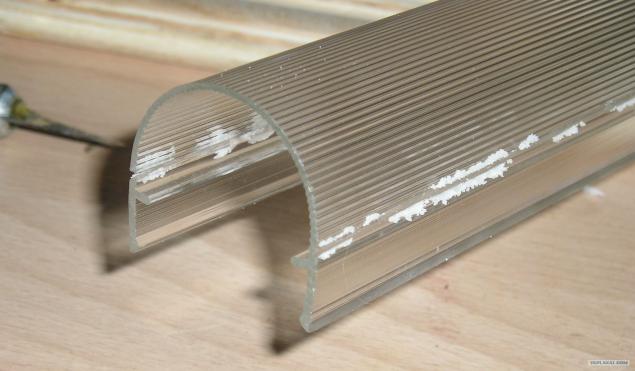
And cut into pieces of desired length and width.

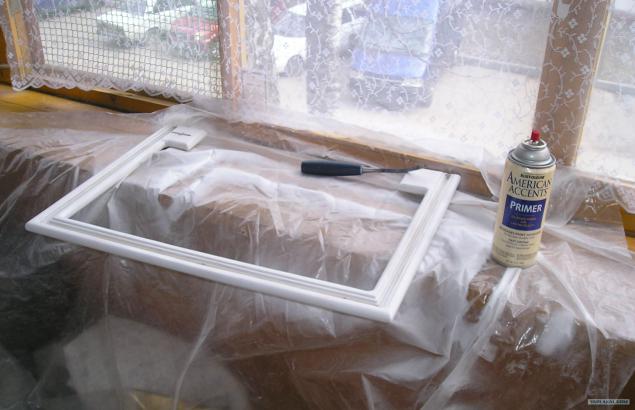
Framed primer, paint and white paint to make it light reflection rather than absorption.
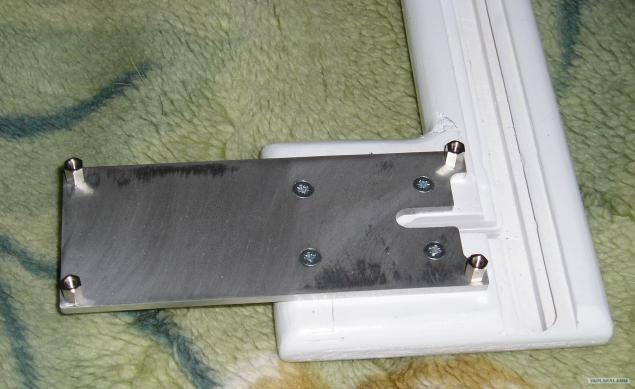
I do mount board.
13
Clay both sides scotch glass.
upd - updated picture on the home who need a scheme - in HP.
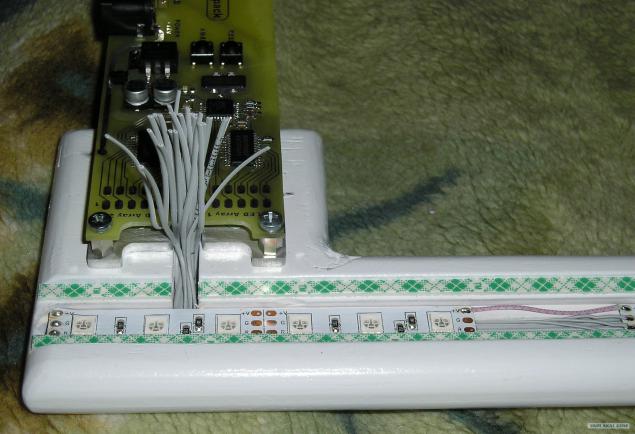
15
I mount all LEDs, running wires.
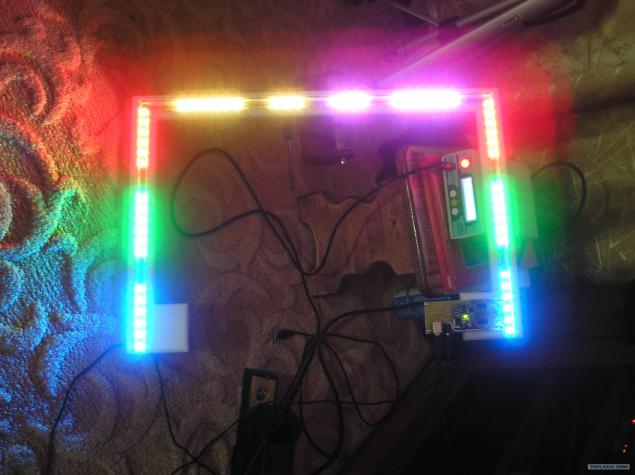
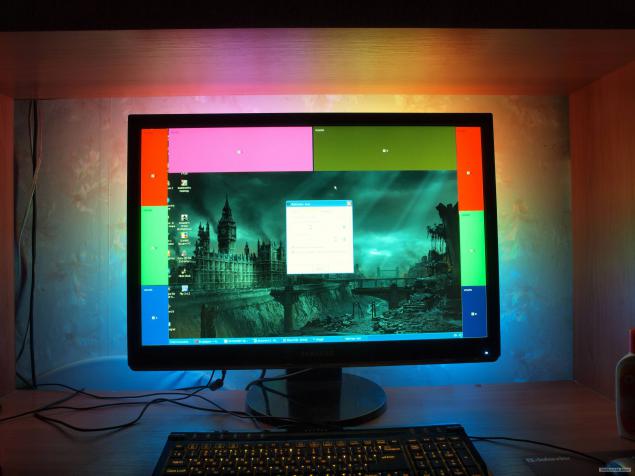
The first testing device.
Filter makes of matte film for laser printer, film adhesive using double-sided tape to the glass.
The result of work with and without filter.

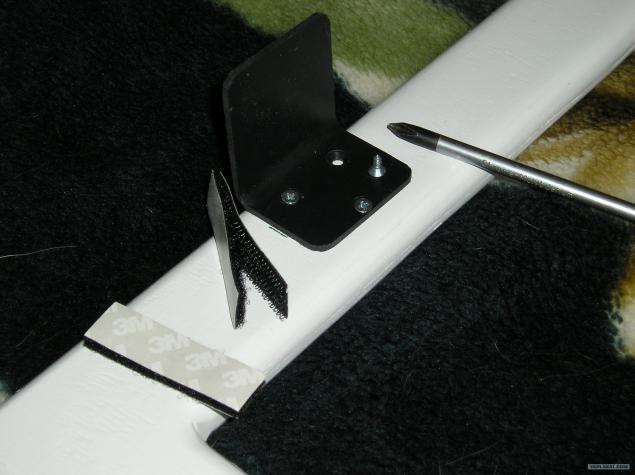
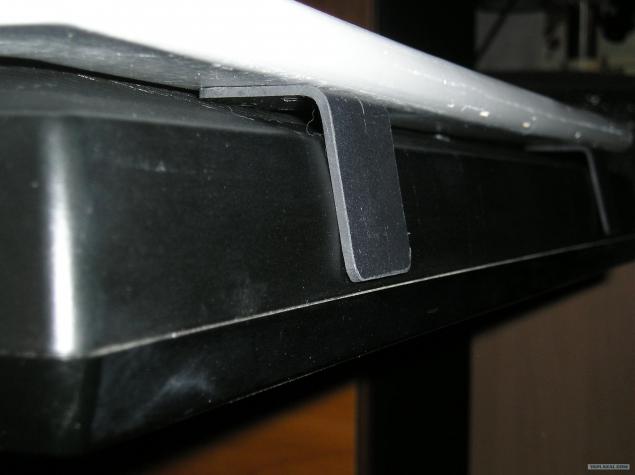
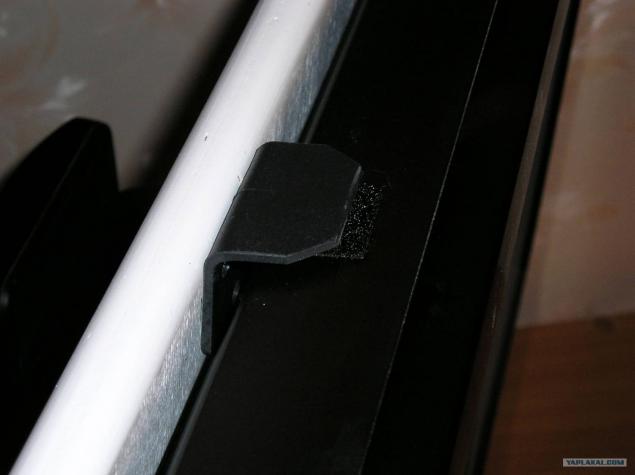
Mounting frame is easy, 2 corner plastic and Velcro on selfglue.
20
Now, after inspections glue glass.
22
The corners sticking out the top, cut in front of them.
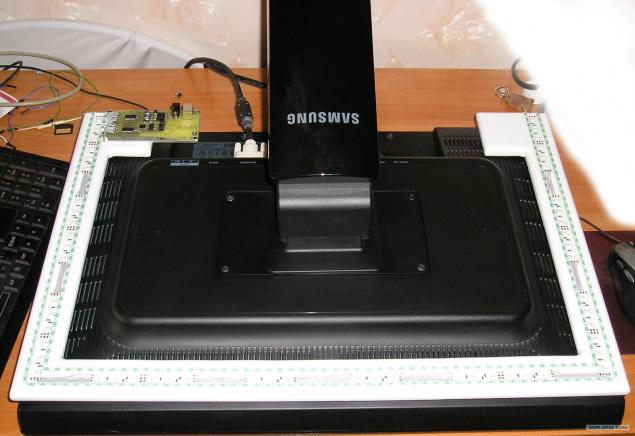
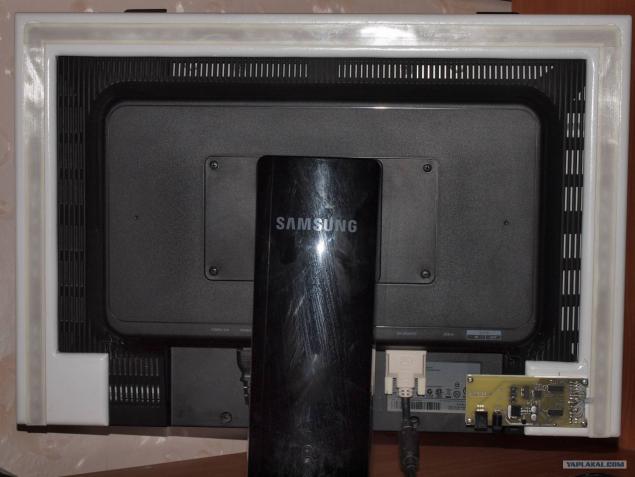
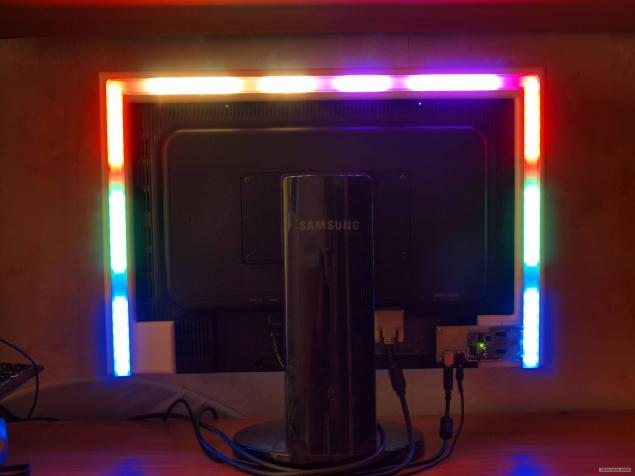
So it now looks back.
25
26
27
Total unit sold, the price ~ 3000rub.
I bought a Philips Ambilight, and the need has disappeared in this design.
p.s. This is not advertising.
I have everything, thank you.
Source:
It has long wanted to have the opportunity to create such as company Philips' TVs to enjoy watching movies.
The project Lightpack it became possible for that many thanks to the authors!
The first thing you need to collect the "brains", the scheme I was little changed, taking into account their needs.
28 pictures

I will use as a light source, LED ribbon dual density NGX-B5050RGB-L60, for my monitor 26 & quot; tapes took a little less than 1 meter.

Fee device.

04

05

06
Ah, how many have accumulated ...

Locations segments LED strip in the frame.

Part of the case of plywood 18mm. It is milled grooves for LEDs, wires and protective glass.
Moderator please do not connect the threads.

The protective glass diffuser is made of a cap, the ceiling fluorescent lamp, we first need to cut off the edges, and then building a hairdryer warming arch, giving the plane.

And cut into pieces of desired length and width.

Framed primer, paint and white paint to make it light reflection rather than absorption.

I do mount board.

13

Clay both sides scotch glass.

upd - updated picture on the home who need a scheme - in HP.
15

I mount all LEDs, running wires.

The first testing device.

Filter makes of matte film for laser printer, film adhesive using double-sided tape to the glass.
The result of work with and without filter.

Mounting frame is easy, 2 corner plastic and Velcro on selfglue.

20

Now, after inspections glue glass.

22

The corners sticking out the top, cut in front of them.

So it now looks back.

25

26

27

Total unit sold, the price ~ 3000rub.
I bought a Philips Ambilight, and the need has disappeared in this design.
p.s. This is not advertising.
I have everything, thank you.

Source:
Tags
See also
10 amazing ideas that brought millions of
The history of the gaming market, part 2
Alex McDowell creates the world in the movie
John Lasseter created a genre of films consisting entirely of computer animation
Colleen Atwood has dressed many popular movie characters
Selective yellow
My name is Red
Russian masters 3d modeling
BENEFITS raw food diet - 3: ENDURANCE AND POWER
Unusual varieties of tomatoes - patterned and velvet fruit